

How to Brew Compost Tea: Equipment, Aeration, and the Brew Process
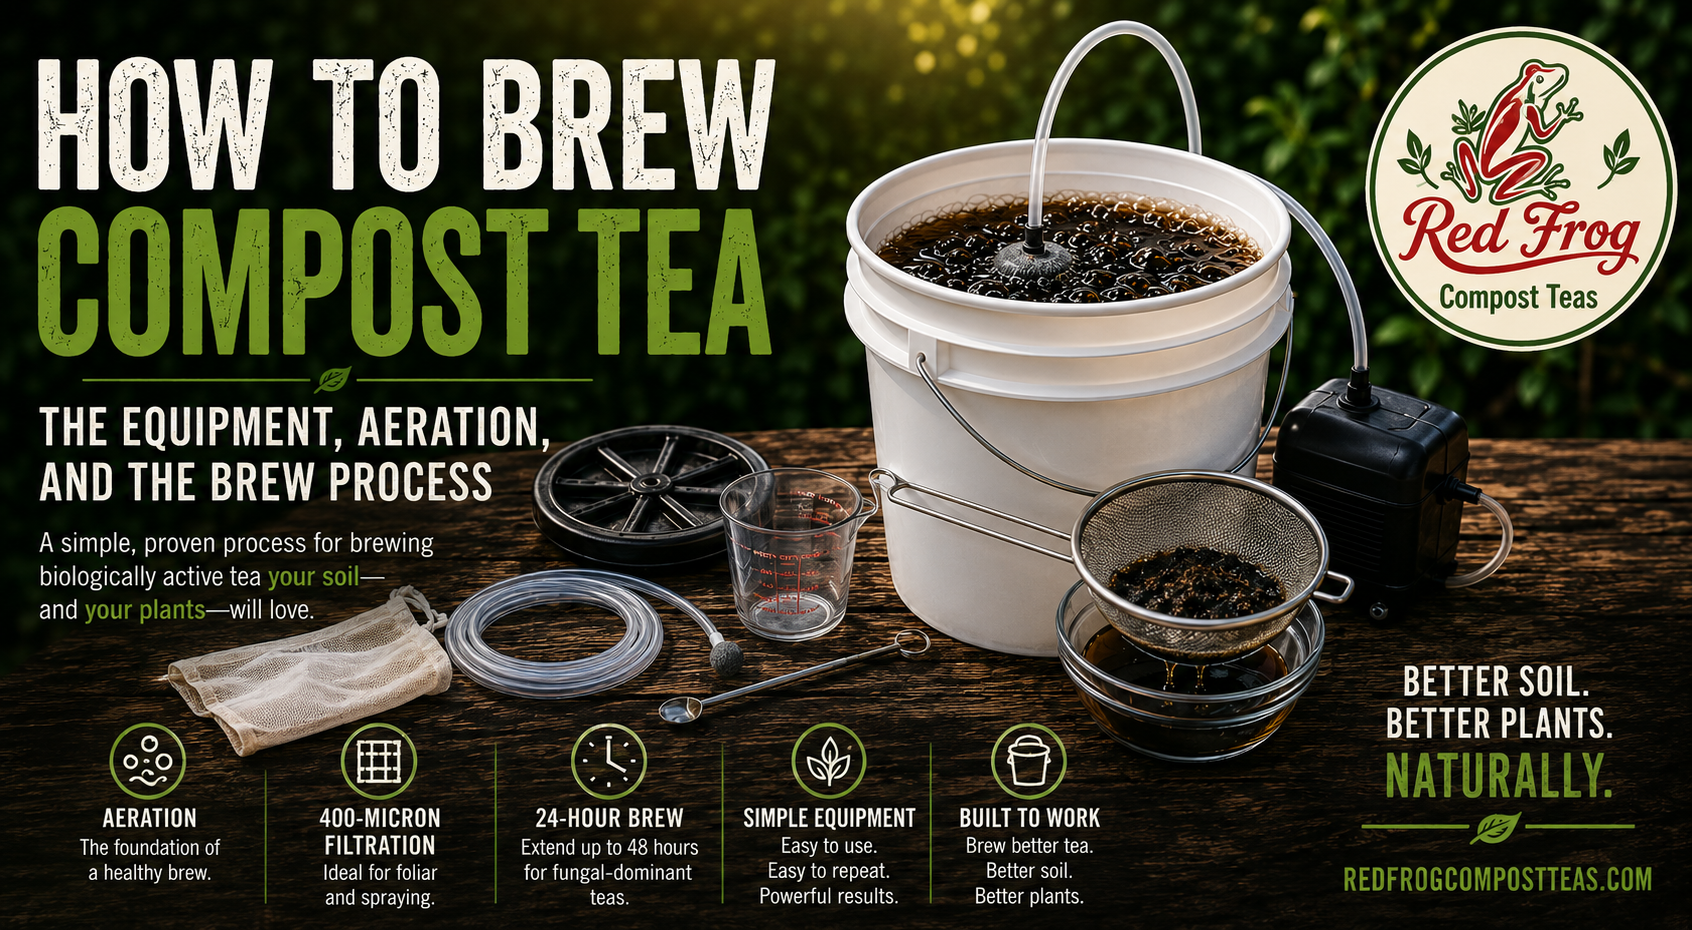
Brewing actively aerated compost tea doesn't require expensive equipment or a complicated setup, but it does require understanding what you're trying to accomplish and why each step matters, because the goal isn't simply to steep compost in water but to create the conditions for a living biological community to multiply and then get that community into your soil while it's still alive and active.
What You Need
For a 5-gallon brew, you'll need:
One clean 5-gallon bucket
Air pump rated at approximately 650 to 1,000 GPH
One large diffuser or air stone
Airline tubing sized for the pump and diffuser
5 gallons of water
High-quality worm castings
Forest humus
Hydrolyzed fish powder
Soluble kelp
Soluble humic acid
400-micron mesh or filter if the tea will be foliar sprayed
Sprayer, watering can, or other application equipment
For exact ingredient amounts, see A Simple Recipe for High-Quality Compost Tea: Ingredients, Quality, and Why They Matter.
Before You Start
Start with clean equipment, potable water, and high-quality biological inputs, and have your ingredients measured and ready before beginning the brew. Have your application equipment ready as well, because once the brewing process is finished and the aeration is stopped, the tea should be applied as soon as possible rather than left sitting without oxygen.
The equipment itself is simple, but the air pump is not a place to cut corners. Our recommendation of 650 to 1,000 gallons per hour is intentionally higher than the small aquarium pumps commonly recommended for 5-gallon compost tea brewers because the oxygen requirement increases dramatically as microbial populations multiply throughout the brew. A small aquarium pump producing a few visible bubbles at the surface isn't the same thing as maintaining an aggressively aerated environment throughout the entire bucket, and the difference between those two things can be the difference between an aerobic brew that supports a thriving biological community and one that runs short of oxygen as that biology multiplies.
A 650 to 1,000 gallon-per-hour pump paired with a large diffuser placed at the bottom of the bucket creates the circulation and oxygen transfer necessary to keep the brew aerobic as microbial populations increase, and the diffuser belongs at the bottom because that's where the aeration does the most work, driving circulation from the bottom up through the entire water column rather than simply agitating the surface.
Water Preparation
Before adding any biological material or brewing additives, fill the brewer with water, place the diffuser at the bottom of the bucket, and run the air pump for at least 30 minutes. This isn't simply a step for chlorinated municipal water, because pre-aerating the water allows the brewing system to begin raising dissolved oxygen levels and establishes strong circulation throughout the water column before the biology and food sources are introduced. Instead of asking the microorganisms to enter a brewer while oxygen levels are still building, you're introducing them into an environment that has already been aggressively aerated.
If you are using chlorinated municipal water, this pre-aeration period serves a second purpose by helping free chlorine dissipate before the biological ingredients are added. With the high-volume aeration used in this system, aerate chlorinated water for 30 to 60 minutes before beginning the brew. Chloramine, which is used by some municipalities instead of free chlorine, does not dissipate readily through aeration alone and requires an appropriate treatment such as a neutralizer or carbon filtration, so if you're unsure what your water supplier uses, it's worth finding out before you brew.
Temperature matters as well, because brewing works best between approximately 65 and 75 degrees Fahrenheit, while colder water slows microbial activity considerably, which means brewing in a cold garage in winter or filling the brewer with very cold well water can significantly affect how quickly the biological population develops even when everything else is done correctly. Keep the brewer out of direct sunlight during the brewing period, particularly in warm weather, because a 5-gallon bucket can heat quickly in the sun and push the water outside the temperature range we're trying to maintain.
The Brew
Once the water has been pre-aerated, the actual brewing process is simple: add the worm castings and forest humus first, followed by the brewing additives, and continue running the air pump. The agitation and circulation created by the air supply will distribute the ingredients throughout the water column without additional stirring, and from this point forward the brew needs continuous aeration until you're ready to apply it, which means the pump should not be shut off overnight, periodically turned off to let the brew rest, or stopped during the brewing period simply because the surface already appears well aerated.
This recipe produces a biologically active tea within approximately 24 hours under good brewing conditions, and the sweet spot for most applications is right around that 24-hour mark. For growers looking to develop a more fungal-dominant tea, the brew can be extended toward 48 hours, with an additional teaspoon of each brewing additive added at the 24-hour mark to provide food for the expanding biological population.
Brewing much beyond 48 hours is possible, but at that point you need to understand how to monitor and continue feeding the brew, because the microorganisms are consuming the available food sources as they multiply and simply leaving the brewer running longer does not mean the biology will continue increasing. Once those food sources become depleted, populations can begin to decline, and if biological oxygen demand exceeds what the aeration system can supply, conditions can also begin shifting away from the aerobic environment we're trying to maintain.
For Growers Who Want to Monitor the Brew
You don't need specialized testing equipment to make a successful 5-gallon brew with a properly designed system, but growers who want to monitor what's happening more closely can use a dissolved oxygen meter. A DO meter tells you considerably more about the actual oxygen conditions inside the brewer than judging aeration by the number of bubbles visible at the surface, and it becomes particularly useful when experimenting with different feeding rates, extending brew times, or scaling the process into substantially larger brewing systems.
How to Know When It's Ready
A finished tea should look like a rich brown liquid, similar in color to strong brewed tea or coffee, and some foaming at the surface is normal and can result from proteins and other compounds in the hydrolyzed fish rather than being a sign that something has gone wrong. Foam by itself is not a measure of biological quality, so don't judge the success of a brew by how much foam it produces.
The smell is one of the most useful practical indicators of brew quality, and a good tea should smell earthy and alive, similar to healthy forest soil or a handful of rich compost, while a brew that smells strongly like sewage, rotten material, or sulfur has likely gone anaerobic and should not be applied to plants. Adding more air or more ingredients after a brew has gone anaerobic isn't the answer, so discard it, clean the equipment thoroughly, identify what likely went wrong, and begin again with fresh ingredients.
Apply Immediately
The single most important rule of compost tea application is to apply it as soon as possible after you stop the brew, because the moment the air pump turns off the continuous oxygen supply that supported the rapidly growing aerobic population is gone. Oxygen levels will begin falling as the organisms continue consuming it, and the longer the tea sits without aeration, the more the biological community begins changing from the condition you worked to create during the brewing period.
Have your sprayer, watering can, or other application equipment ready before you shut down the brewer so the tea can move from the brewer to the soil or foliage with as little delay as possible.
How to Apply It
Compost tea can be applied as either a soil drench or a foliar spray, and for a soil drench it can be used straight or diluted with dechlorinated water, depending on the application and the amount of ground being covered. A useful starting point for soil application is approximately 1 gallon of diluted tea per 100 square feet, applied slowly enough to allow good contact with the soil rather than simply running across the surface. Extremely dry soil can be lightly pre-moistened before application, which can help the tea penetrate more evenly instead of channeling through dry areas or running off the surface.
Application rates and frequency don't need to be treated as rigid formulas because soil type, existing biological activity, crop, growing conditions, and the reason for the application all matter. Depleted or sandy soils may benefit from greater volumes or more frequent applications because there is less existing biological activity and organic matter to support the organisms being introduced, while established garden beds with healthy soil biology may require considerably less.
For foliar application, strain the tea through approximately a 400-micron mesh or filter before loading your sprayer, because the objective is to remove larger particles that can clog the spray equipment without unnecessarily filtering out the larger fungal structures we're deliberately trying to carry into the application. Filtering too finely can remove part of the fungal biology you spent the brewing period developing, which defeats one of the reasons for building fungal diversity into the tea in the first place.
Early morning is generally the best time for foliar application because cooler temperatures and lower light intensity reduce evaporation and provide better conditions for the biological material being applied to the leaf surface. Apply until the foliage is thoroughly coated but not dripping, covering both the top and underside of the leaves where practical.
Under normal growing conditions, applying every 2 to 4 weeks during the active growing season is a reasonable maintenance schedule, although frequency can be adjusted depending on the condition of the soil and plants. Applications can also be useful following treatments that disrupt microbial populations, particularly fungicides, as part of rebuilding the biological community.
A Note About Edible Crops
When brewing for use on edible crops, begin with potable water and properly finished, high-quality compost or vermicompost and keep the brewer and application equipment clean. Compost tea is a living biological product, which makes the quality of the starting materials and sanitation throughout the process particularly important.
Quick Brewing Guide
Fill the brewer → Start the diffuser and pre-aerate for at least 30 minutes → Add worm castings and forest humus → Add brewing additives → Aerate continuously → Brew approximately 24 hours → For a more fungal-dominant tea, continue toward 48 hours and feed again at 24 hours → Apply immediately → Clean the brewer.
Troubleshooting
The brew smells bad or sulfurous: The brew has likely become anaerobic. Don't apply it. Discard the tea, thoroughly clean the equipment, and start again while checking aeration, temperature, feeding rates, and the quality of your starting materials.
There doesn't seem to be much activity: Check water temperature, starting materials, and aeration. Cold water can significantly slow microbial activity, while weak biological inputs cannot produce a diverse brew simply because they're being aerated.
The sprayer keeps clogging: Check your filtration and application equipment. Approximately 400-micron filtration removes larger material while avoiding unnecessarily fine filtration that can remove fungal structures you're trying to apply.
The brew is getting too warm: Move the brewer out of direct sunlight and check the water temperature. A small volume of water can change temperature considerably faster than many growers expect.
You're brewing longer than 24 hours: Remember that the expanding microbial population is consuming food and oxygen. When intentionally extending the brew toward 48 hours for greater fungal development, provide the additional food called for in the recipe and maintain aggressive aeration throughout the entire brewing period.
You're considering brewing beyond 48 hours: At this point you're moving beyond the simple process described here and into actively managing the biological population. Longer doesn't automatically mean better, and extended brewing requires understanding how to monitor the brew and provide additional food without overwhelming the aeration system.
Cleaning Your Equipment
Clean all brewing equipment immediately after emptying the brewer, because biofilm from organic materials and microbial growth can build up quickly on bucket walls, tubing, and diffusers and create problems in future brews. Rinse the equipment thoroughly with clean water and clean or sanitize the bucket, tubing, and diffuser as necessary, with white vinegar or hydrogen peroxide being useful options for removing buildup and cleaning brewing equipment.
Whatever cleaning method you use, rinse everything thoroughly and make sure no sanitizing residue remains before beginning the next brew, because anything capable of sanitizing the equipment can also interfere with the living biology you're trying to grow if enough of it carries into the next batch. Keeping the brewer clean between batches gives each new brew a fresh starting point and prevents old organic material and biofilm from becoming an uncontrolled part of the next biological population.
Everything starts in the soil.
